Skip to content
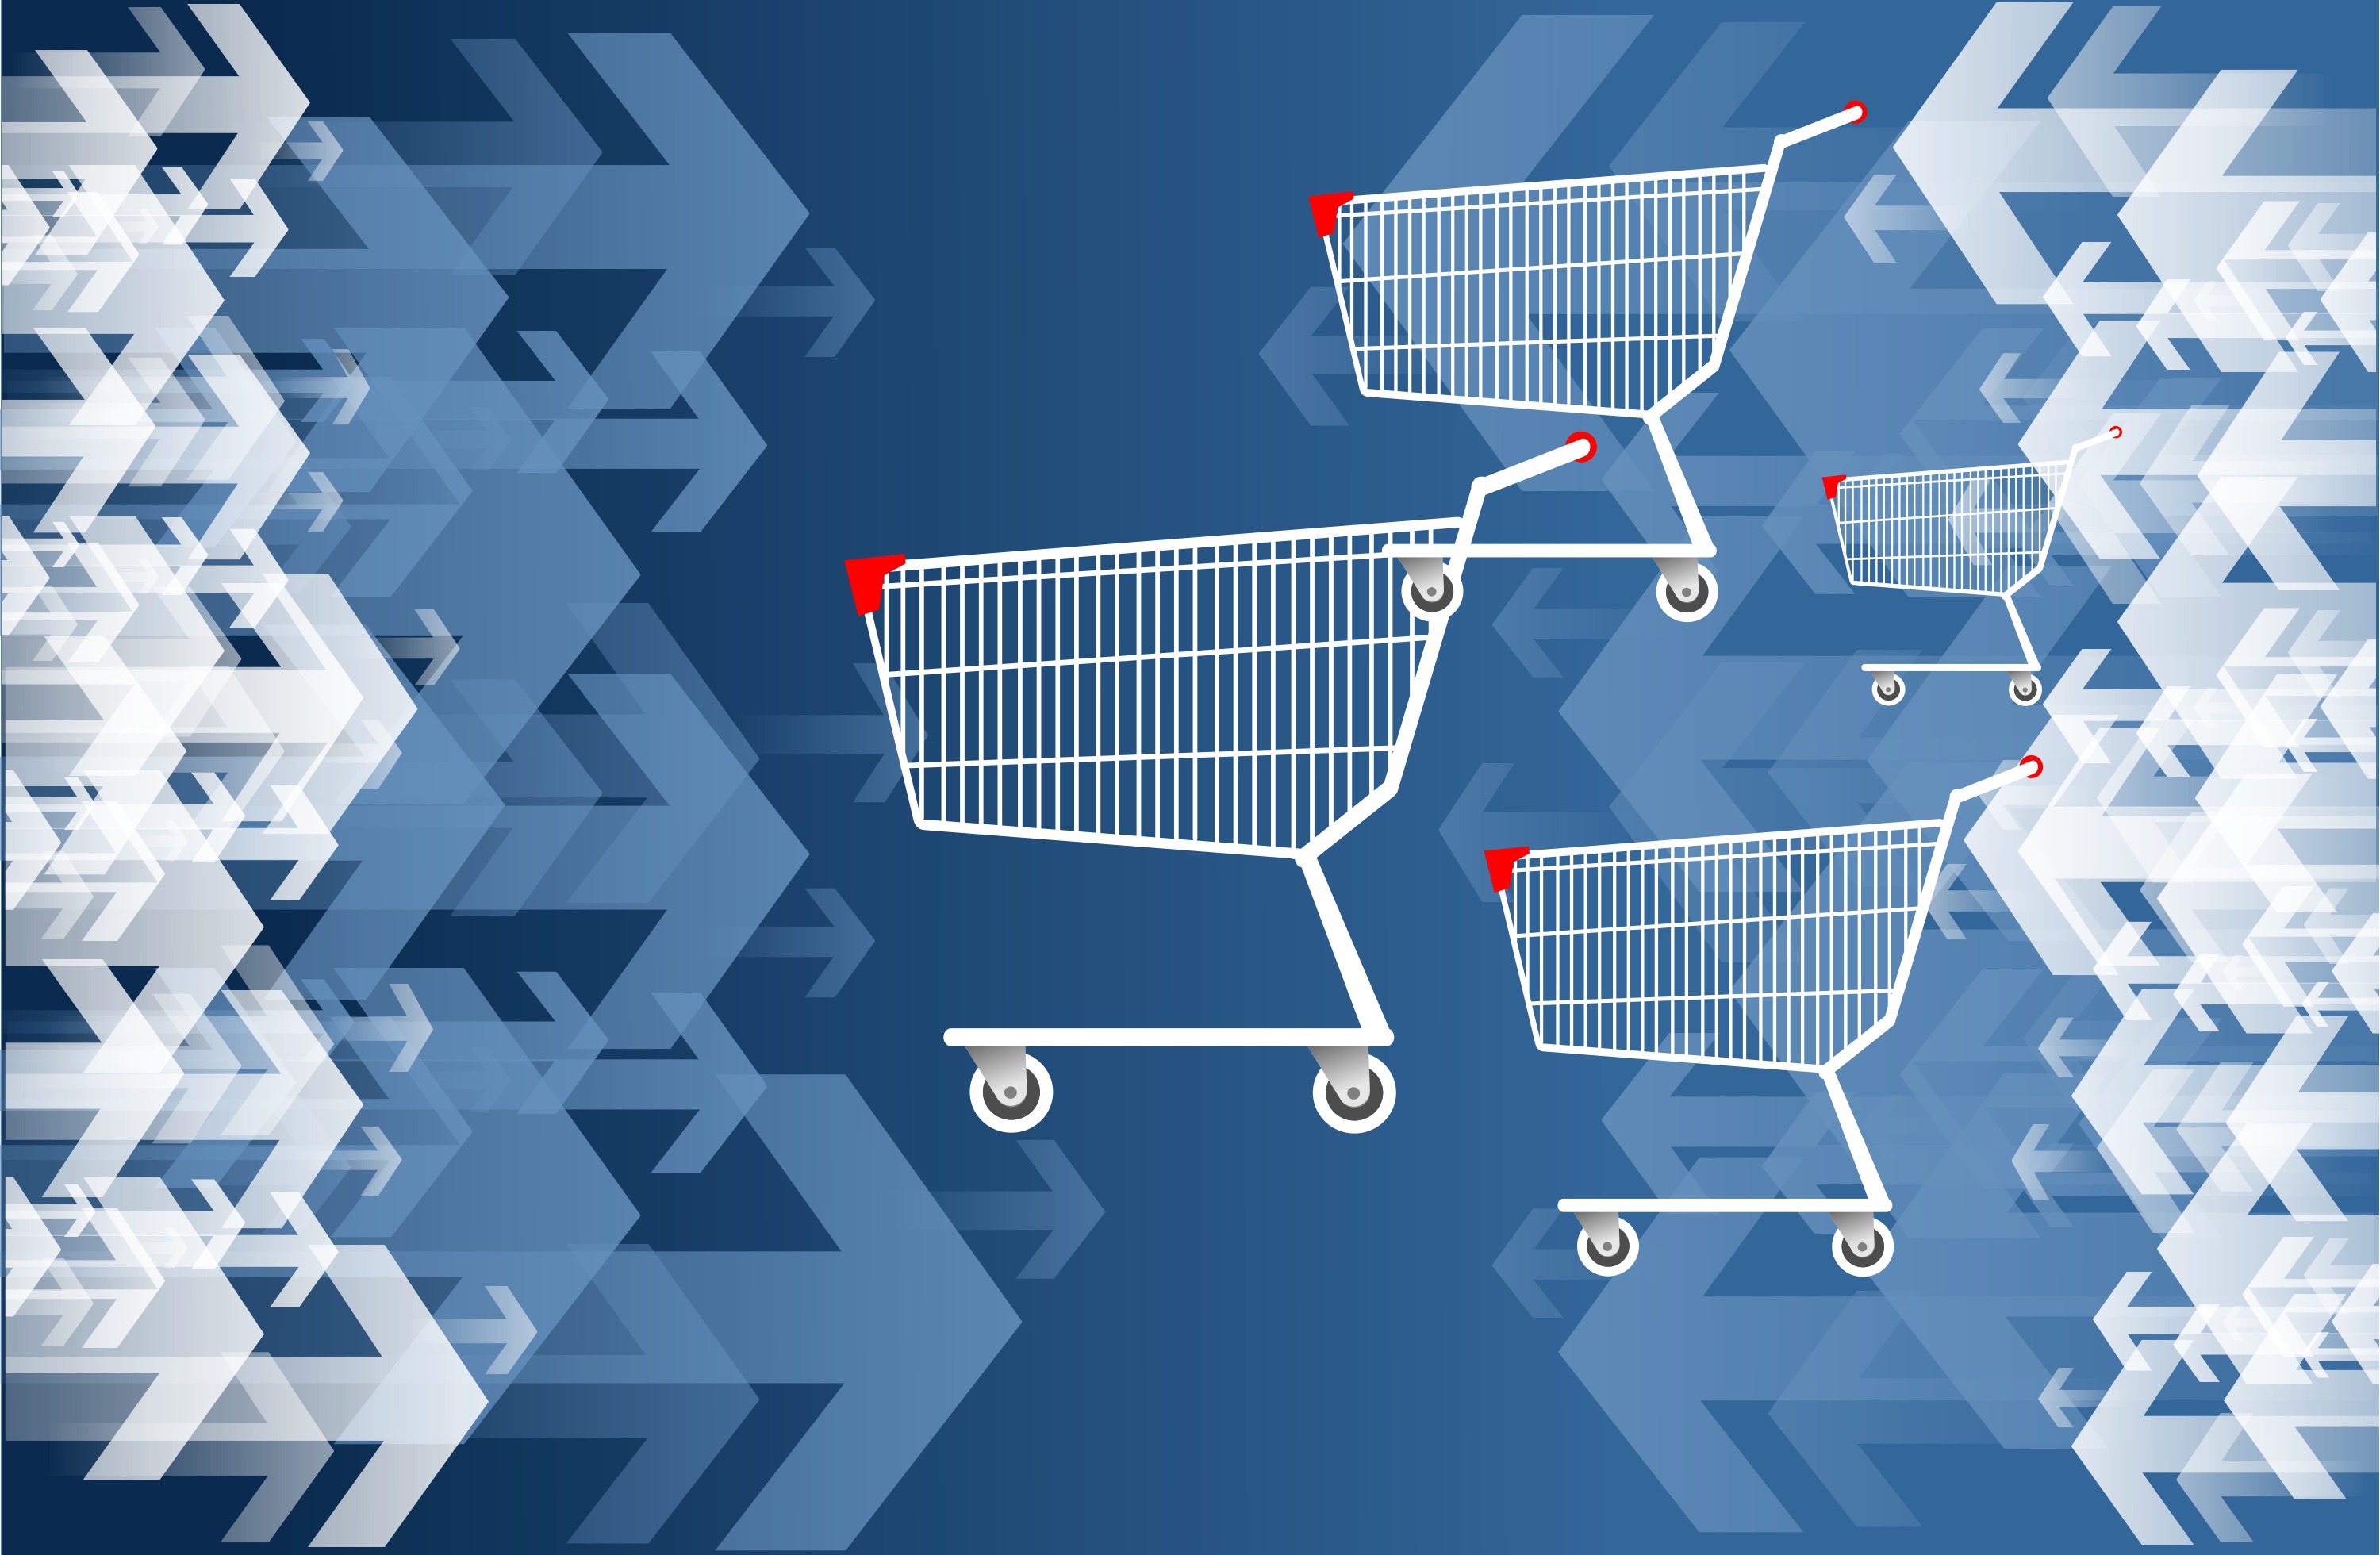 A successful strategy often starts with having the proper pieces in place, and Shopping Campaigns can be among the better performing campaigns within your Google Account if you’ve properly set key settings and feed criteria. There are many e-commerce businesses out there that are selling their products with traditional search campaigns and are doing very well with that alone. These same e-commerce businesses are aware that a Shopping campaign may be beneficial to them, and many of them understand just how difficult it can be to set up a simple Shopping campaign. Additional steps and adaptations intensify the challenge, and an adjustment as simple as having a Merchant Center account set up and activated before being able to run a Shopping campaign over in the Adwords side, can help to facilitate the process. We will be going over some simple points to look for in setting up a Merchant Center account, and take a closer look at how to have Adwords pull the data feed to start running your very own Shopping Campaign.
Creating A Google Merchant Center Account
You must first have what’s called a Google Merchant Center Account if there’s any possibility of having a Shopping campaign over on the Google Adwords side. The Google Merchant Center is the resource Google uses to verify the products you plan to advertise in a shopping campaign meet their policy and requirement guidelines to satisfy the needs of consumers. If you don’t have a Google Merchant Center, you may start the process of creating one by going to Google.com/merchants. Once there, you’ll be walked through the process of creating an account with all of the login information, etc.
Once you’ve created your Google Merchant Center, one of the main tabs you’ll want to visit first is the Business Information tab over on the left menu of the page. Once you click the Business Information tab, it will default you to the About Your Business section, where it will ask you for your business information such as your Business Display Name, Website, Business Address, Primary Contact, Technical Contact, and Customer Service Contact. These fields are required to show Google that you and your business are who you say you are when you begin to start advertising. Transparency is Google’s main goal when it comes to searchers coming to Google to buy products.
Verifying and Claiming your Website In The Merchant Center
After you fill out the About Your Business section, you’ll see another tab that just says “Website” which you will want to click on next. Once you click on the “Website” tab, a section will come up that will give you instructions on how to Verify and Claim your website, the one that you filled out in the About Your Business section. The process of verification and claiming your website is fairly easy and can be done in a matter of minutes. Although if you have a developer that does all of the additions to your website or IT-type work on the site, they may need to get involved if you are afraid of botching things up yourself. Either way, the verification and claiming of your website basically tells Google “Yes Google, this is my site that I own, and I have full rights to it,” which is the information they’re trying to verify. So, this step has to be completed and Verified by Google with two Green Checkmarks when the verification is completed properly. Also, once you have properly Claimed your website in the “Website” section, if you drop back to the About Your Business section and look within the “Website” tab there, you will see a green checkmark next to your website name as well, which wouldn’t have been there prior to verifying and claiming your website. Once this step is complete, you can then click on the Logo tab and quickly ad your business logo if you have one, by uploading your image within size limits that are accepted. The addition of a logo is not a requirement for having a shopping campaign, but it may be a good choice if you’re proud of your logo.
We are a leader in helping agencies deliver Pay per click management services to their clients. Can we help you? Check out more about Our White Label PPC Services to learn more about what we can do to help your agency today.
Shipping and Tax Settings In Merchant Center
Over on the far left menu, you will see just below the Business Information and Products tab, there will be the Tax tab and Shipping tab. Within these tabs, you’ll need to enter in some specifics of how to input your tax purchases data based on the states’ tax bracket. Although there are many different ways to include the tax on a purchase, Google allows for much simpler tax settings to be entered, such as just using your own state tax for all purchases versus entering in every states’ tax one by one. If things become a bit difficult while arranging the tax settings portion, it may be a good idea to contact Google and secure one of their available phone reps to walk you through the tax portion, so you can verify what’s allowed and acceptable. . But nonetheless, this section is one of the required sections that will have to be filled out properly before you can run a Shopping campaign.

After your Tax settings have been put into place and accepted per Google’s requirements, then you may begin the second portion under the Shipping tab. There will be additional details within the shipping tab that will need to be filled out compared to what had been done previously with the tax settings. There will be specific shipping information you will need to include such as your Target Country, the estimated length of Transit Time during shipping, the approximate size and weight of your products that are being shipped, whether the shipping cost is based on the size and weight or if there is a flat rate type price on the shipping, and finally which Carrier is being used to ship your products. There are a few options that will make this process easier such as “Carrier calculates shipping,” which relieves you of having to know the size and weight of the cargo to be shipped. . But there are some helpful guides to help you fill out the shipping section and there again if this becomes too difficult for you, Google reps are more than happy to assist you during Google business hours.

The sections that we discussed today are among those that are required to be filled out properly before any further steps can be taken. Once those requirements are met with sections such as business information, website verification, a website claiming, Tax settings, and Shipping settings, you may then move on to what’s required for a Product feed.
In the next blog post, we’ll get into what it will take to start a product feed, some of the required fields needed to get approval from Google’s shopping team, allowing your merchant account feed to be imported correctly over into Google Adwords. If one little thing is wrong in the product feed, it will get rejected over in the Merchant Center side, which will then prevent it from showing up over in the Adwords side.
Google Adwords Certified
PPC Consultant
Th@t! Company
Bobby Pena